REVIEW · SEOUL
Hiking in Seoul : Bukhansan National Park
Book on Viator →Operated by VIP TRAVEL Co.Ltd · Bookable on Viator
A mountain hike, right by Seoul. The Bukhansan Guided Hiking Tour sends you from the city’s streets into granite peaks, temple paths, and Seoul-weekend scenery at a pace set by your group. You start with pickup (if offered) and a morning drive north, then follow your guide through the park’s dramatic scenery—gorges, granite walls, and Buddhist stops that help the hike feel more than just stairs.
I like this format because it treats the park like a real place, not a quick photo stop. I also like that the route is flexible: you can go with an easier climb to Seunggasa Temple (about 1,300 feet / 400 meters of elevation gain) or choose the tougher Bibong path (about 1,835 feet / 560 meters) if you want more effort.
One thing to consider: the hike can be steep and slippery in places, and weather matters. If you’re expecting an easy walk, plan for a workout—and be ready that the end-of-day spa add-on (when offered) is not everyone’s idea of relaxing.
In This Review
- Key things I’d plan for on this Bukhansan hike
- From Myeongdong to the granite gates of Bukhansan
- Route choice: Seunggasa for an achievable climb, Bibong for the workout
- Seunggasa Temple climb (better if you’re not trying to suffer)
- Bibong path (for narrow trails and longer effort)
- What the hike feels like: steep steps, big pauses, and temple moments
- The cultural stops you should look for along the way
- Timing: a 4.5-hour mountain day that still feels like a full experience
- Gear and body checklist: what you need so the trail stays fun
- The Korean spa at the end: worth it for some, awkward for others
- Price and value: what $142 buys you in Seoul hiking reality
- Who should book this Bukhansan hike (and who should choose something else)
- Final verdict: should you book?
- FAQ
- How long is the Bukhansan National Park hiking tour?
- Where does the tour start in Seoul?
- Is hotel pickup available?
- Are tickets included?
- What’s the fitness level needed?
- What hike route options are there?
- How much elevation gain is on the trails?
- What’s included in the price?
- Are food and drinks included?
- What’s the minimum age for the tour?
- What’s the group size?
- What if weather is bad?
Key things I’d plan for on this Bukhansan hike
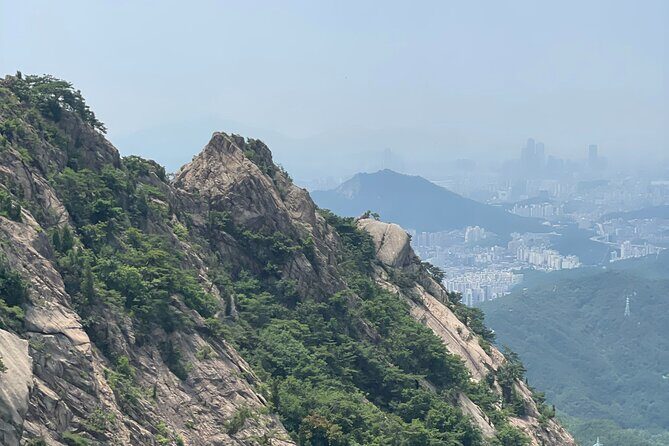
- Two route levels, one mountain: choose Seunggasa Temple for a relatively beginner-friendly climb or Bibong for a harder, narrow trail with stream sounds
- Elevation you can feel: expect sustained uphill sections and plenty of steps up rock and granite
- Guides who pace you: past guides like Juno, Anna, Gabbie, Chance, and BK have been praised for matching the hike to the group
- Temple culture on the way up: you’re not just hiking through scenery; you’re seeing Buddhist sites along the route
- Small groups (max 15): easier to move together and ask questions without getting lost in a crowd
From Myeongdong to the granite gates of Bukhansan
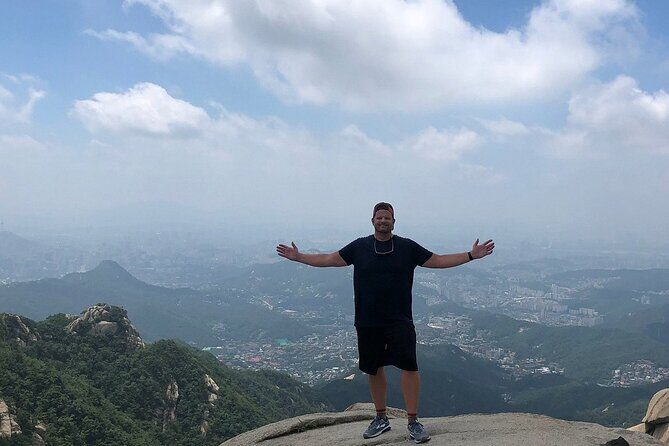
Most days start around 9:00 am near Myeongdong Station (the meeting info lists Myeongdong Subway Station Exit 10, with an address near Chungmuro 2(i)-ga). If pickup is offered for your booking, you’ll be collected from your Seoul hotel in the morning, which is a big help if you’re staying in the central neighborhoods and don’t want to think about transit first thing.
Then comes the drive into the park area. This matters more than it sounds. Bukhansan is close to a megacity, so you get that special contrast: skyscrapers and subway life early, then stone paths and quiet temple scenery as you climb.
You can also read our reviews of more hiking tours in Seoul

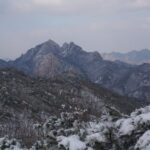
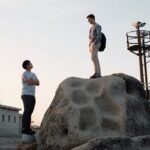
Route choice: Seunggasa for an achievable climb, Bibong for the workout
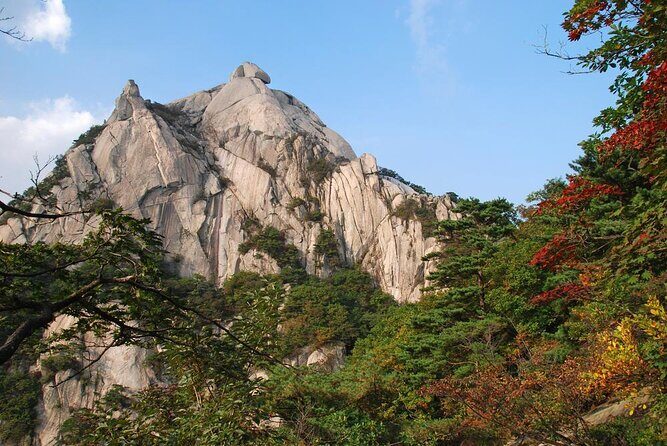
This tour is designed around one key decision: how hard you want the day to feel.
Seunggasa Temple climb (better if you’re not trying to suffer)
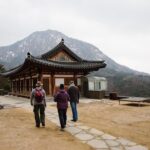
The easier-feeling option is the climb to Seunggasa Temple, with about 1,300 feet (400 meters) of elevation gain. The trail is described as relatively easy for beginners, and you’ll still feel the steep parts—because, well, it’s a mountain. You should expect lots of stairs, rock steps, and uphill stretches where you’ll want to take breaks and look back for photos.
If you’re visiting Seoul for the first time and want a memorable active day without needing serious hiking experience, this is usually the smart choice. Guides have also lent walking sticks to help with the climb, which can make a real difference on uneven stone.
Bibong path (for narrow trails and longer effort)
If you want a more serious hike, the Bibong path is the harder option. It’s described as a narrow trail, with a mountain stream alongside, climbing about 1,835 feet (560 meters). This isn’t just “a little steeper.” Narrow footing plus a sustained climb means you’ll want good balance and stamina.
You’ll likely spend more time moving uphill, which can be perfect if you’re the type of traveler who wants your heart rate up early and doesn’t mind working for the views.
What the hike feels like: steep steps, big pauses, and temple moments
On the ground, you should plan for a classic Korean mountain hike rhythm: climb, pause, climb again. The description is honest about this—expect challenging uphill sections, rest stops, and photo opportunities. That pacing is important because Bukhansan trails can look manageable from the bottom, then reveal steep rock steps once you start.
The guides are a major part of the experience. I’m using the names from real guide feedback here because they’re a clue to the kind of service you’ll get when the group is moving as one unit. Guides like Juno, Anna, Gabbie, Chance, and BK have been specifically credited for being patient, helpful with pacing, and good at sharing context on what you’re seeing.
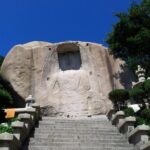
The “why” of the hike matters too. Bukhansan is known for granite mountains and Buddhist temples, and you’ll get some explanation as you move. That’s what turns the day into more than exercise. You stop in places where locals come for weekend hikes, and the park starts to feel like part of Seoul’s daily life rather than a remote escape.


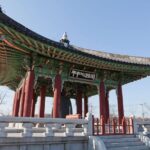


The cultural stops you should look for along the way
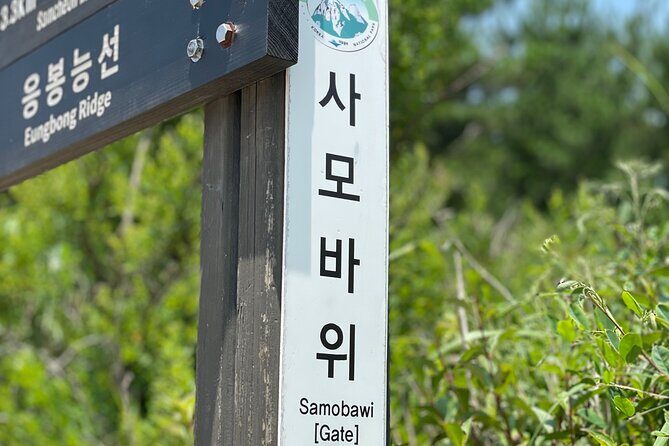
This tour isn’t only about getting to a summit. The highlights call out major Seoul landmarks too—Gyeongbok Palace and Jogyesa temple—so the day is shaped as a combination of city culture and mountain nature.
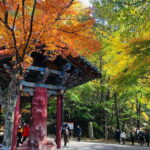
Inside the park experience, the temple element continues. The hike itself is tied to temple destinations like Seunggasa, and you can also expect to see Buddhist sites partway up. That’s where the route choice really changes the feel of the day: a lighter climb tends to give you more time for temple stops and views, while the tougher trail gives you more time for effort and fewer easy pauses.
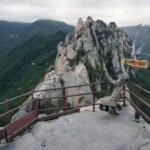
If you care about photos, bring the patience for uneven terrain. Rock steps make tripods unrealistic. But the viewpoints can be worth the climb, especially if you time your stops for clear skies.
Timing: a 4.5-hour mountain day that still feels like a full experience
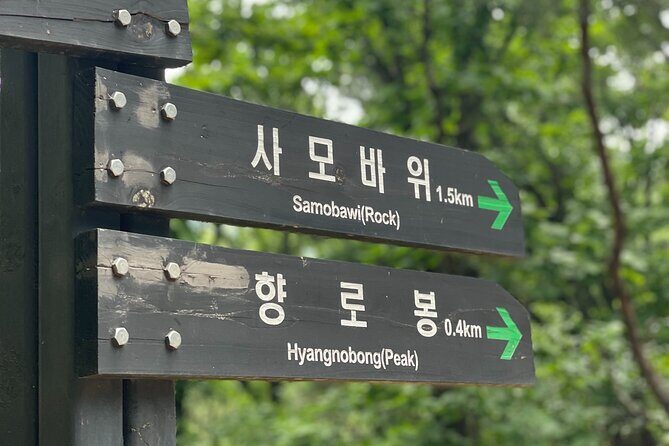
The listed duration is about 4 hours 30 minutes, with the park stop itself listed as 4 hours and an admission ticket noted as free. That’s a good length for people who want a workout without losing an entire day.
In practice, you’ll likely feel the day split into two phases:
1) travel and orientation in the morning
2) active hike with temple views and rest breaks
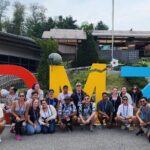
Because the hike includes rest and photo stops, the route will feel purposeful instead of rushed. The small group size—up to 15—helps the pace. You’re not fighting a large crowd to take your turn on rock stairs.
Gear and body checklist: what you need so the trail stays fun
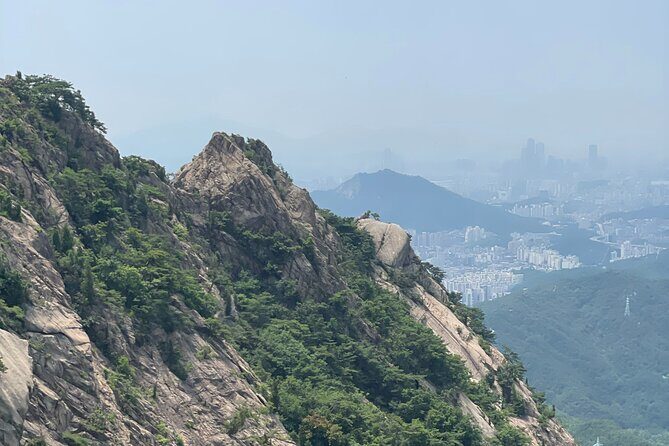
This is where I’d be picky, because it changes the whole day.
- Wear comfortable clothes and walking shoes you trust on uneven stone.
- If you own hiking boots, use them. Several guide comments and feedback highlight that slippery sections and steep paths are real.
- Bring something for water and basic energy. Food and drinks are listed as not included unless specified, and lunch is listed as not included in the base offering.
You don’t need to be an athlete, but you do need moderate fitness. The tour info is clear on that, and the trail elevations reinforce it.
Also: for anyone planning this as your first day after a long flight, it can still work, but take it slow. A guided hike is ideal for jet lag because you’re not spending mental energy navigating—just let your legs do the work.
The Korean spa at the end: worth it for some, awkward for others
One detail that shows up strongly in feedback is the post-hike Korean jjimjibang-style spa experience. Some participants describe it as a great recovery step—exfoliation, warm soaking, and sauna time—like the massage and warm water helped them feel brand new after the climb.
But there are also clear “know before you go” issues:
- It may not feel private or relaxing in the way a Western spa does.
- Some people find the setup uncomfortable, especially around nudity expectations and shared spaces.
- Some feedback suggests the spa may be indoors rather than outdoors.
If you’re booking this expecting a spa lounge day, adjust your mindset. Treat it as part of the cultural experience and plan based on your comfort level. If you like traditional baths, it can be a memorable end to the hike. If you don’t, skip the extra add-ons and just plan a light meal and rest.
Price and value: what $142 buys you in Seoul hiking reality
At $142, you’re paying for three things: guide leadership, a small-group hiking experience, and included logistics like transfers (round-trip from central Seoul) and taxes/fees. Admission is noted as free for the hike segment, which helps keep costs reasonable.
Here’s how I think about value:
- You’re not doing a self-guided mountain day where you spend extra time figuring routes, temple locations, and the right trail for your fitness.
- You’re also getting English-speaking guidance that helps interpret what you’re seeing—temples, granite geography, and the local hiking culture.
If you already love planning hikes yourself, you might spend less. But if you want a smooth day with a plan, the price starts to make sense quickly—especially with pickup options and a guide included.
The only true “value risk” is if you’re sensitive to the steep terrain and you choose the harder route without enough hiking readiness. That doesn’t make the tour bad—it just means you should select the trail that matches your comfort.
Who should book this Bukhansan hike (and who should choose something else)
This tour fits best if you want:
- A guided mountain hike near Seoul, not a remote day trip
- Temple stops and some cultural context along the climb
- A choice between beginner-friendly and advanced routes
- A manageable time commitment of about 4.5 hours
It may be less ideal if you:
- Want a mostly flat walk
- Have trouble with steep stairs and uneven stone
- Are uncomfortable with the idea of traditional bath/spa environments afterward
If you’re traveling with friends who have different fitness levels, this can be a good solution because the guide can choose a route based on group ability and preferences.
Final verdict: should you book?
I’d book this if you want a real, guided Bukhansan hike that doesn’t require research, because the structure saves you time and helps you get the cultural payoff along the way. Pick Seunggasa if you want a strong workout with a reasonable climb. Choose Bibong if you’re ready for a narrower, more challenging trail and you want extra effort for views.
If you’re on the fence about the spa, decide in advance based on comfort with shared bath culture. For me, the hiking part is the star here—and with good shoes and a steady pace, it’s one of the best ways to see another side of Seoul.
FAQ
How long is the Bukhansan National Park hiking tour?
It’s approximately 4 hours 30 minutes total. The Bukhansan National Park portion is listed as about 4 hours.
Where does the tour start in Seoul?
The meeting point is near Myeongdong Station, with instructions listing Myeongdong Subway Station Exit 10 and an address near Chungmuro 2(i)-ga (Jung District).
Is hotel pickup available?
Pickup is offered in the tour summary, and the day starts with pickup at your hotel in the morning if available for your booking.
Are tickets included?
A mobile ticket is mentioned, and admission ticket for the hike segment is listed as free.
What’s the fitness level needed?
You should have moderate physical fitness. The tour also notes that you should be prepared for uphill sections and a steep, stair-heavy mountain climb.
What hike route options are there?
You can hike on a route suited for beginners (Seunggasa Temple) or a more advanced option (Bibong path).
How much elevation gain is on the trails?
Seunggasa Temple climbs about 1,300 feet (400 meters). The Bibong path climbs about 1,835 feet (560 meters).
What’s included in the price?
The tour includes a professional English-speaking guide and all taxes, fees, and handling charges.
Are food and drinks included?
Food and drinks are not included unless specified. The listing also says lunch is not included.
What’s the minimum age for the tour?
The minimum age is 11 years.
What’s the group size?
The tour has a maximum of 15 travelers.
What if weather is bad?
This experience requires good weather. If canceled due to poor weather, you’ll be offered a different date or a full refund.